Decided to make a name plate/plaque for the inside lid of the machinist's tool chest. My name, the year of construction, and maybe a couple of scrolls will comprise the engraving. A 1 5/8" X 3" rectangle of 1/16" brass was cut out and cleaned up including sanding to 1000 grit. This was marked out for holes in each of the corners 3/16" in from the sides. The holes were center drilled and drilled for #2 clearance with a #37 (0.104") drill.
Here are some potential fonts from google to use on the name plate: Charm, Tangerine, Niconne, and Felipa.
John McDonald
2018
John McDonald 2018
John McDonald 2018
John McDonald 2018
I prefer the first two: "Charm" and "Tangerine". "Charm" looks more like a font to use on a machinist's tool chest. And best of all it looks relatively simple from an engraving perspective. I printed out a screen capture of Charm at 66% to get a size corresponding to what is seen on the web page. I then attempted a transfer using the purchased transfer paper. The transferred graphite was very faint even with significant pressure and multiple traces, though the letters looked good. I will try it on china white next.
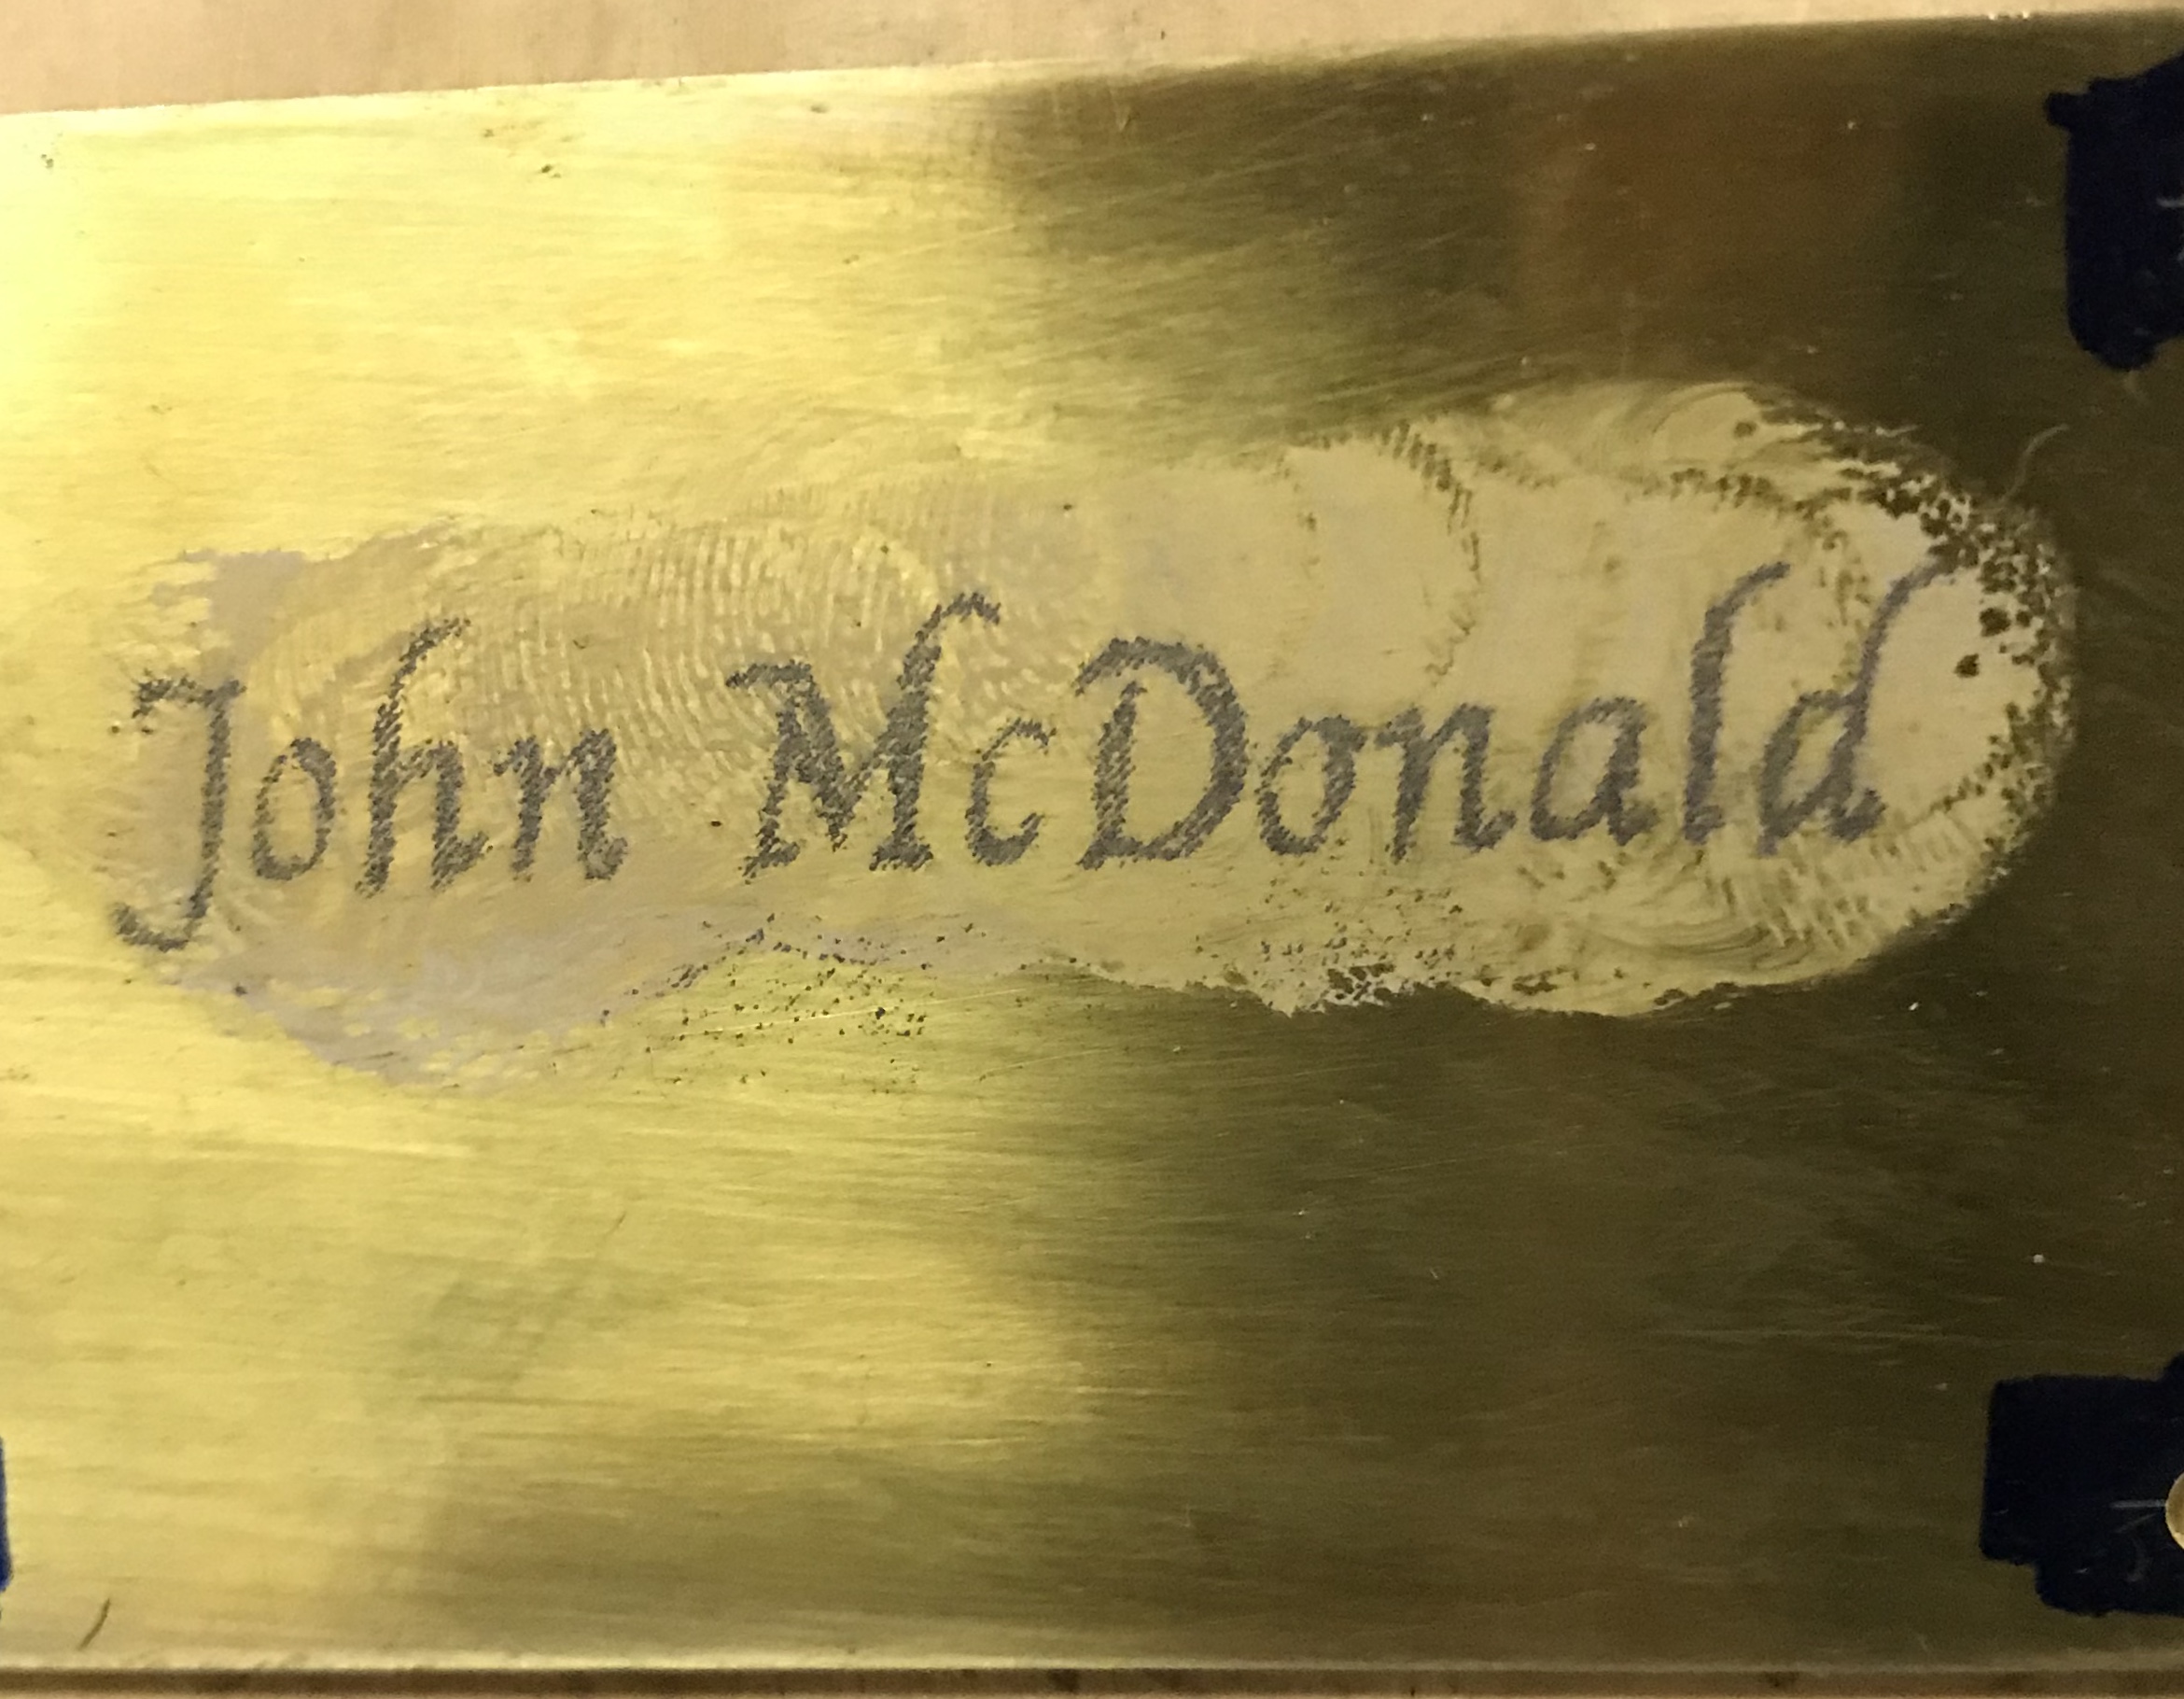
The process works really well transferring onto China White. Prior to engraving I sharpened the graver using the fixture from Lindsay Tools. I first used 600 grit paper on a 1/2" thick piece of plywood and followed this with 1000 grit on the same plywood. Finally, I used the purchased diamond stone to give a final polish. The flats were also polished with the diamond stone. Before engraving the plate I decided to practice engraving letters a bit. I am going to need significant practice before I am ready to start engraving the plate!!
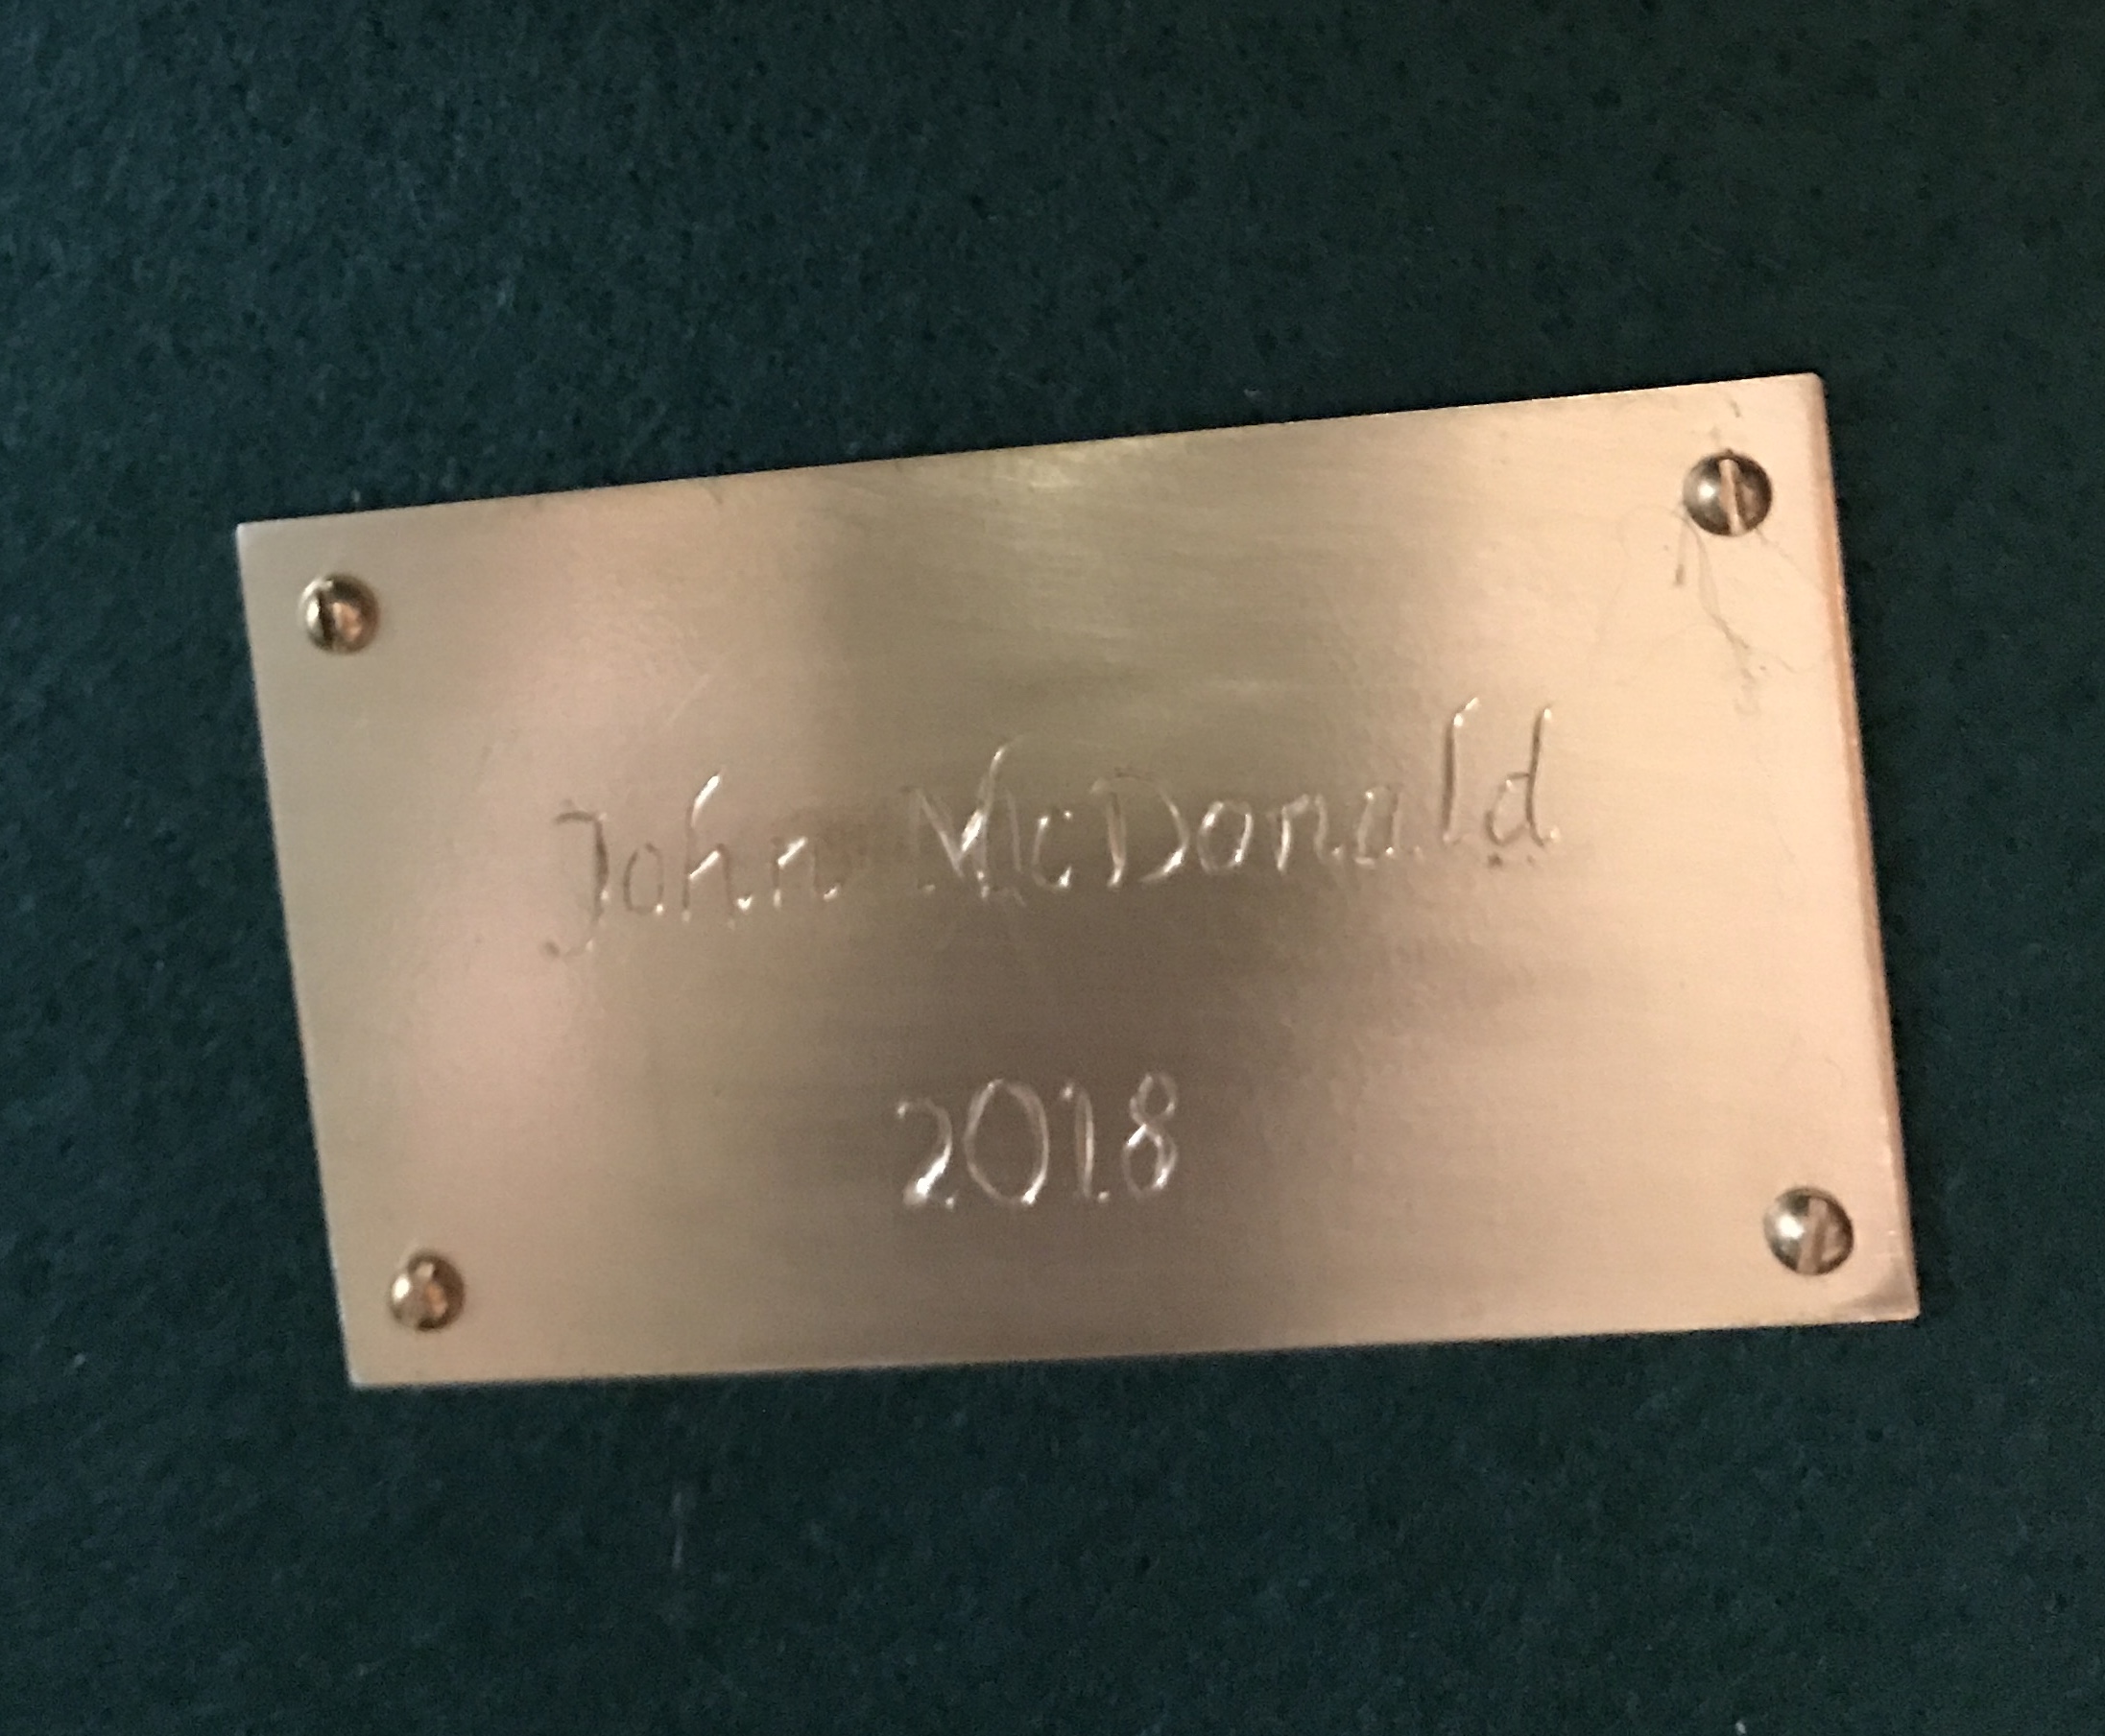
Decided to complete the plate today, June 11. The name was engraved using the new engraver's vise. It is quite nice and minimizes the need to engrave from awkward directions. The year of construction, 2018, was then laid out on china white below the name. It was engraved as well. A few burrs were removed and then the plate was sanded with 400, 600, and 1000 grit paper. It was buffed on a wheel with red buffing compound. The buffing compound was washed off with soap and water with the help of a soft scrub brush. Two coats of spray lacquer were applied to minimize tarnishing.
Had some difficulties with spraying the lacquer. It seemed wavy as opposed to smooth and it was not uniform, so it was sanded off and a second attempt was made. This time the first coat was smooth, but the second was slightly wavy. At least it was a uniform finish. So I stopped at this point.
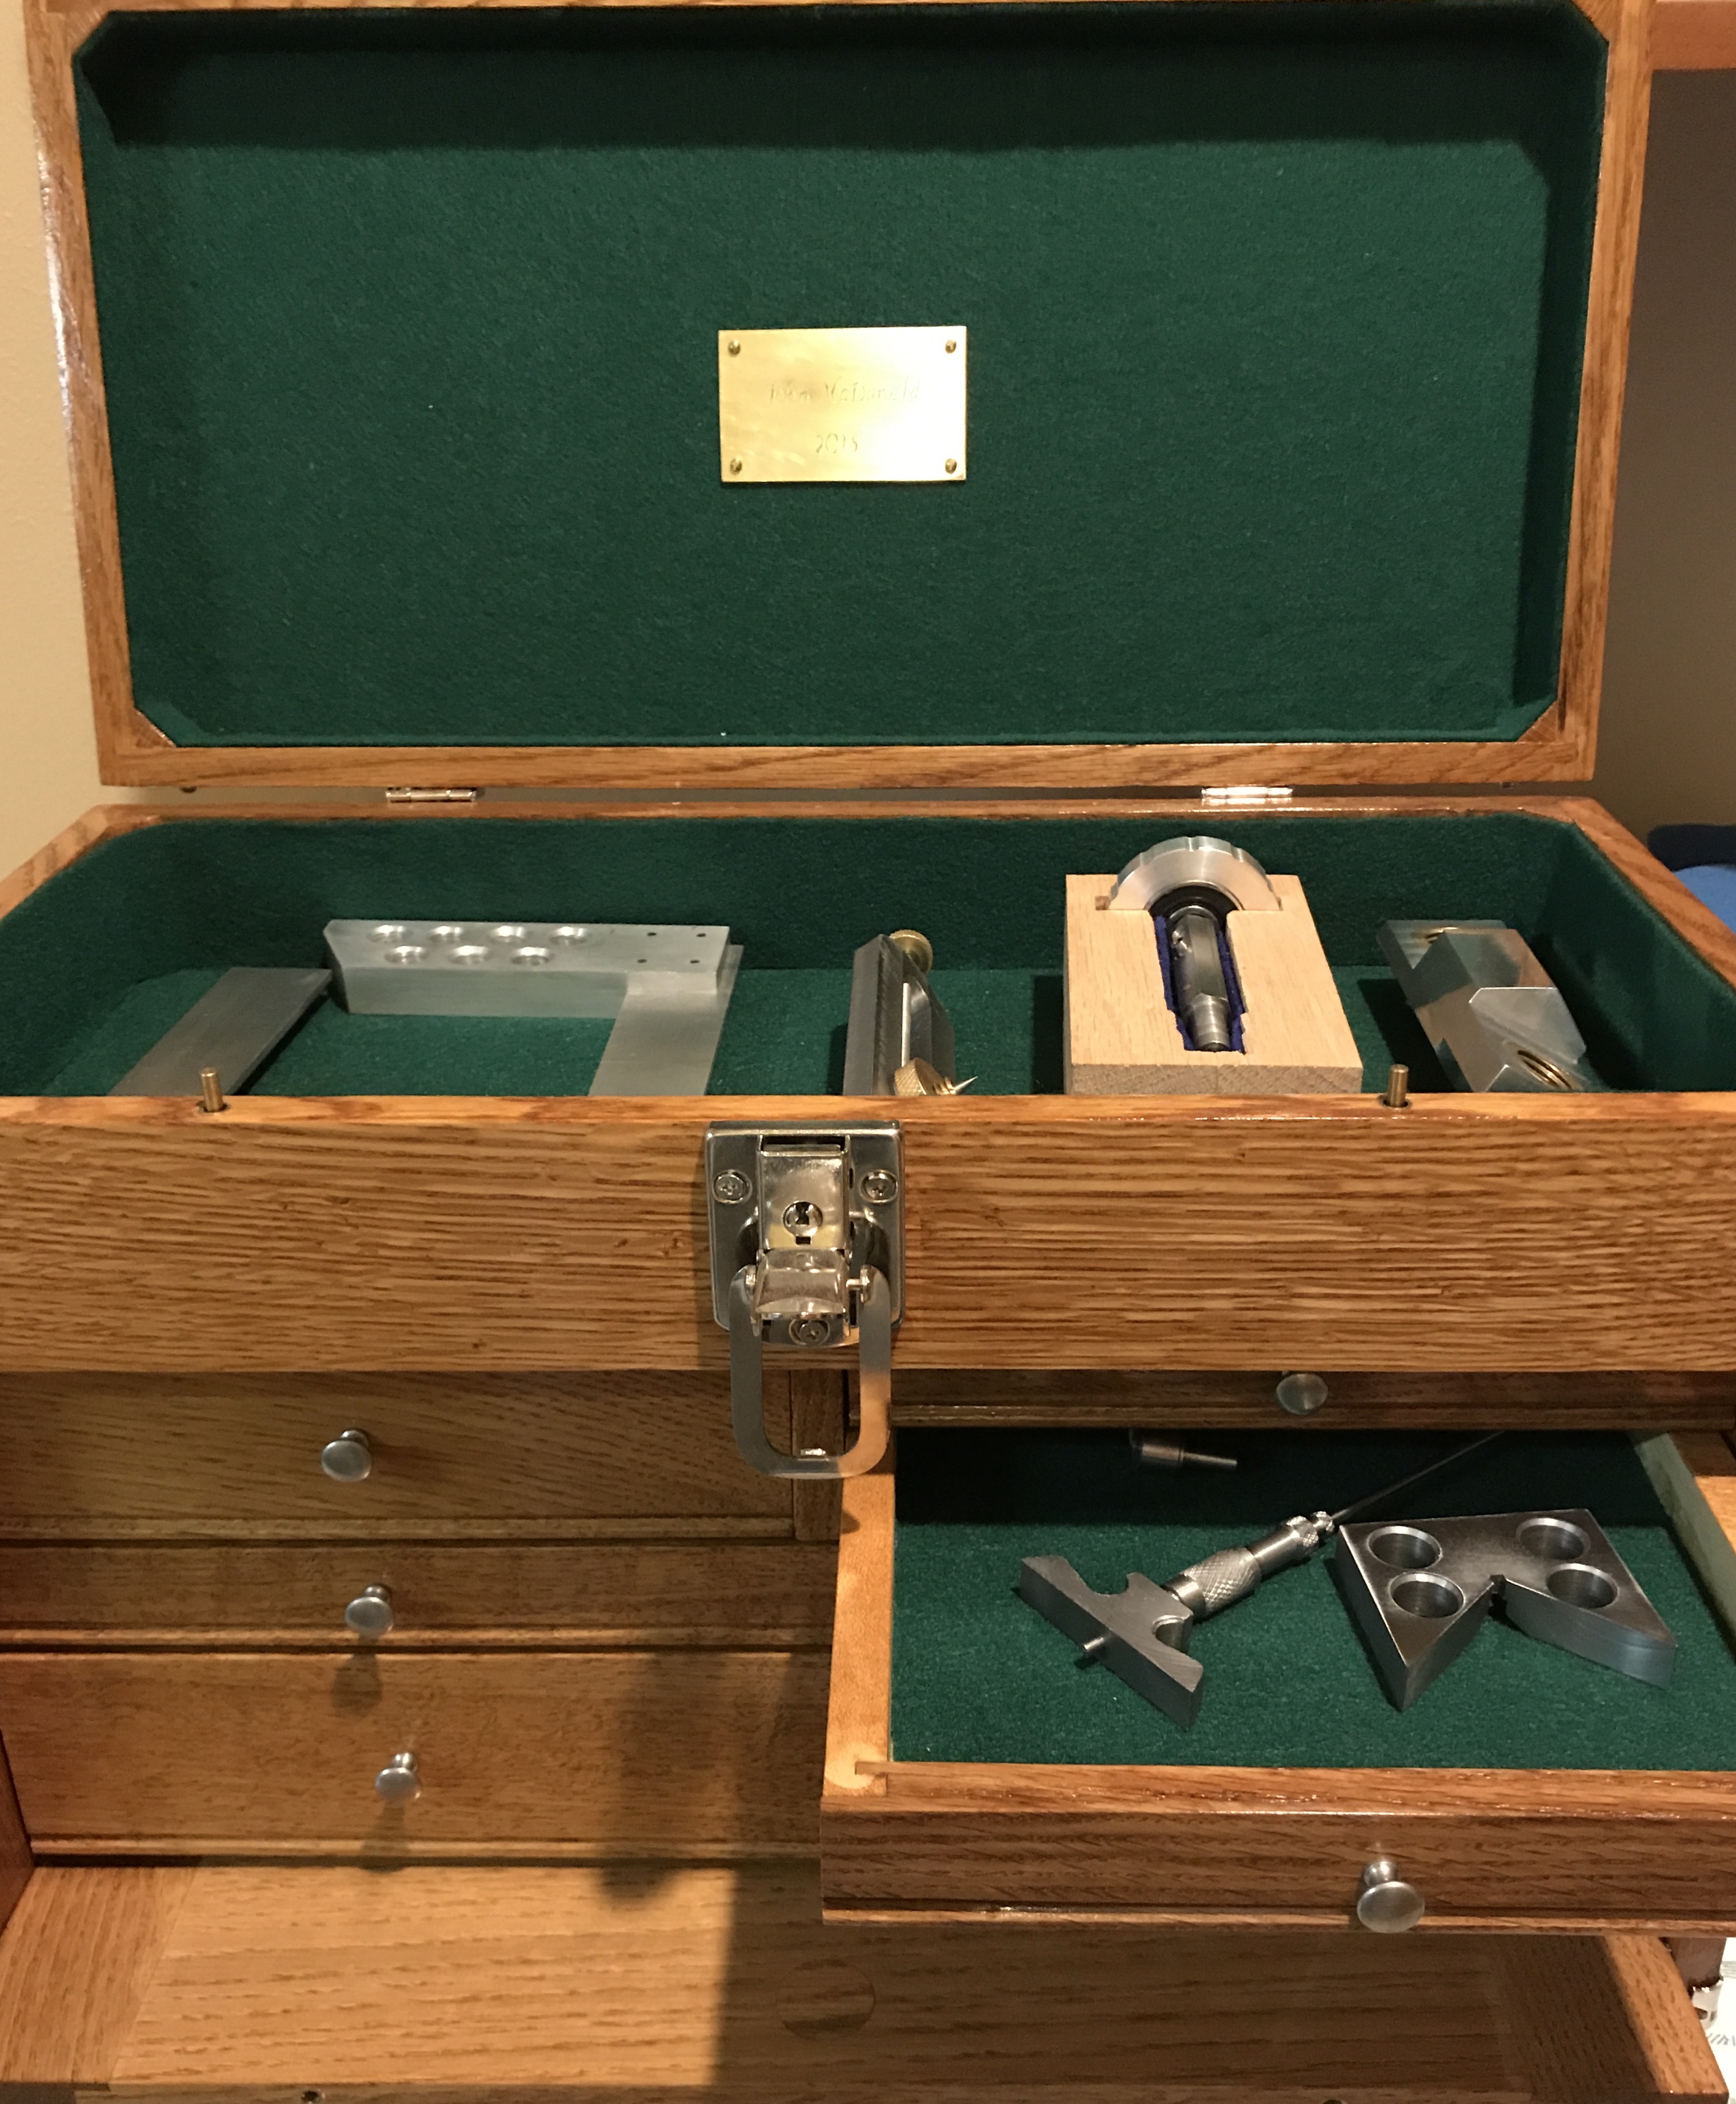
The name plate was centered on the inside of the lid. Four holes were marked. A punch was pressed into each mark. The 1/4" long screws were then used to mount the plate to the box. It took a lot of force to make a hole sufficiently deep to start the tiny screws. The pictures below show the result.